Knives
-
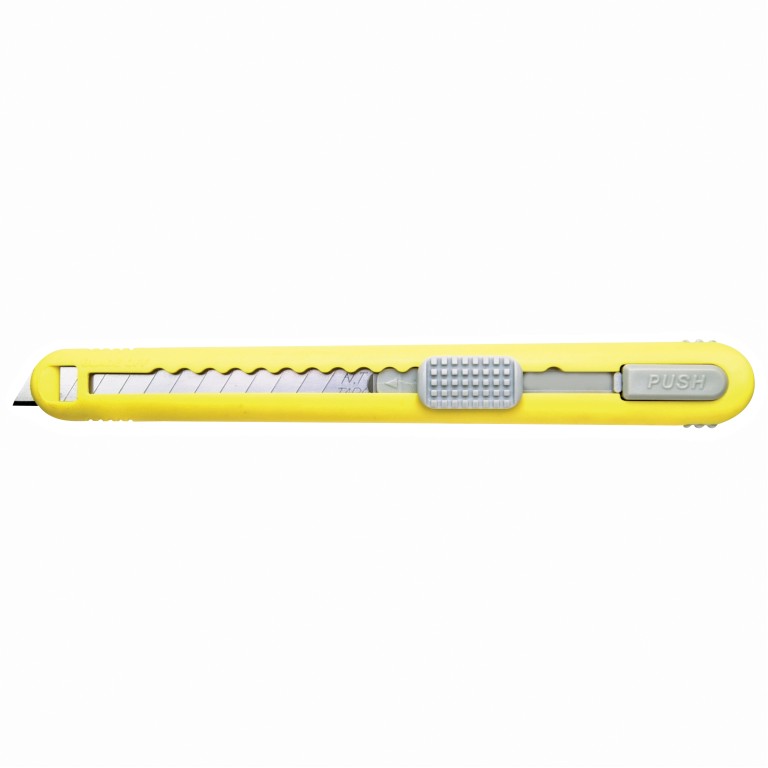
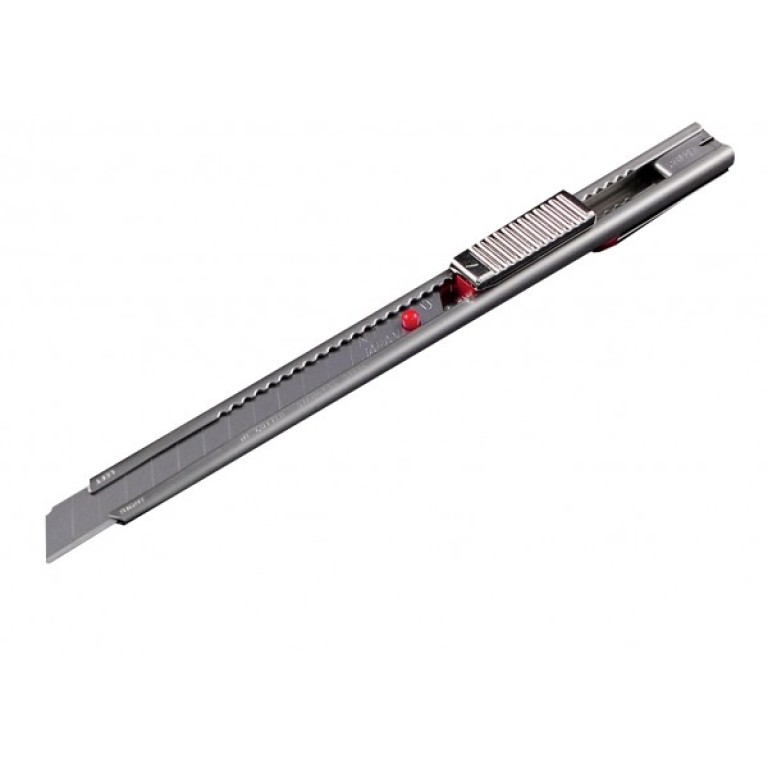
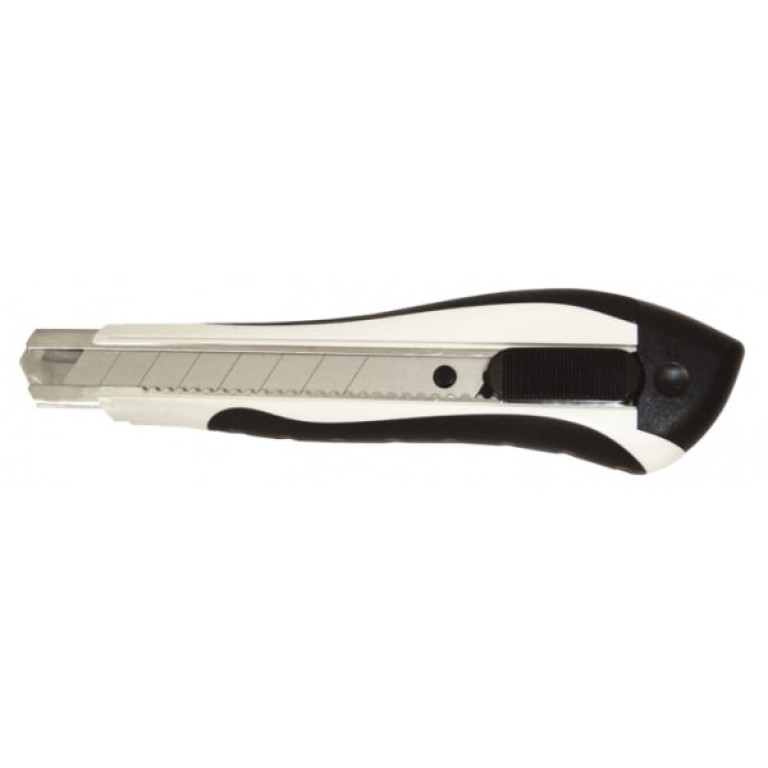
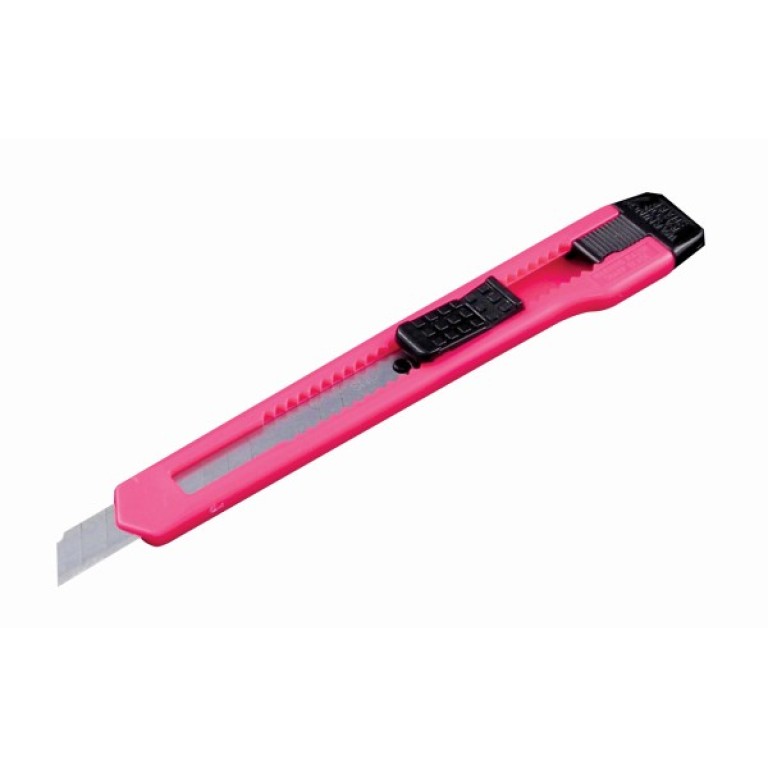
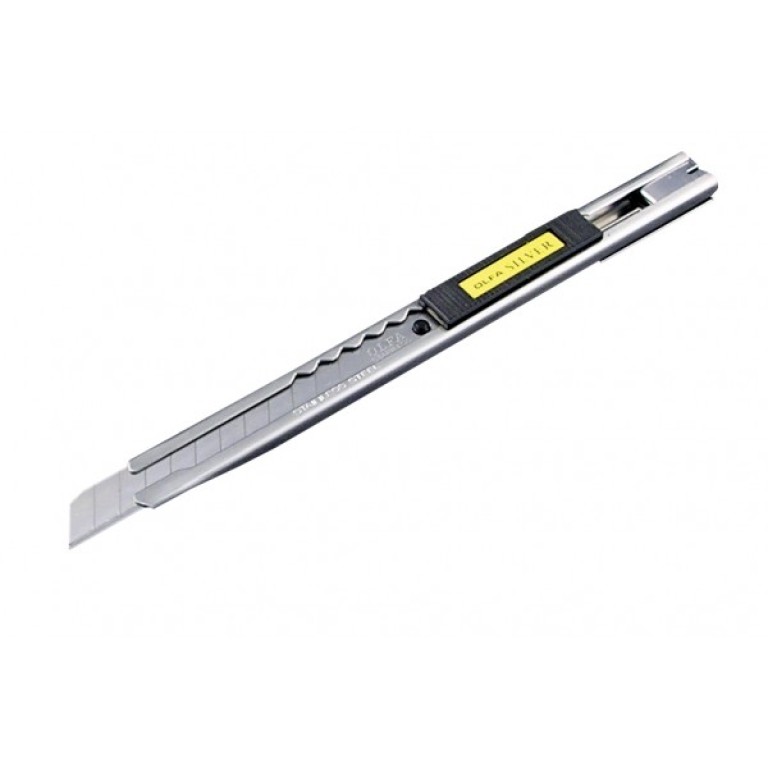
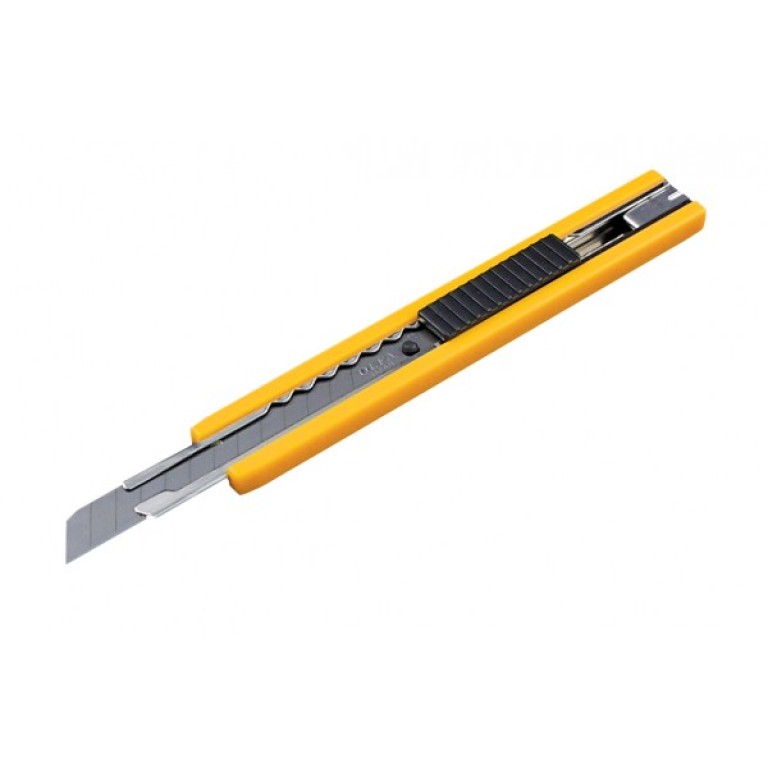
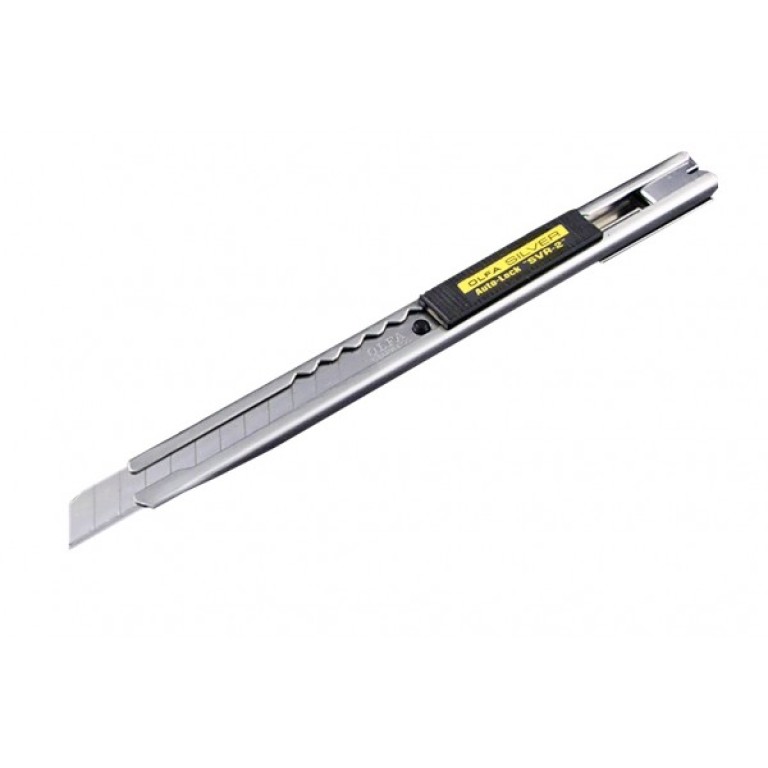
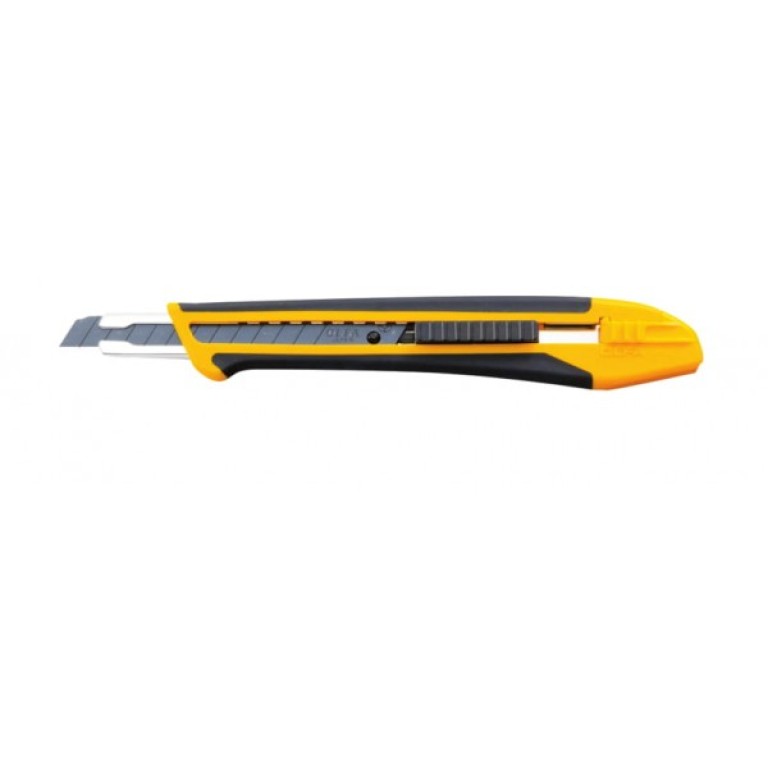
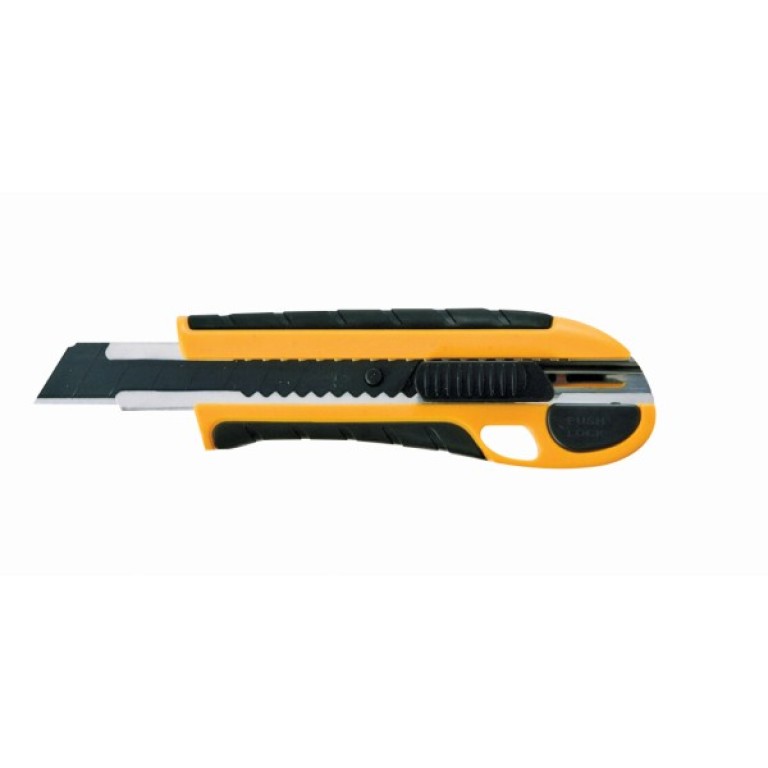
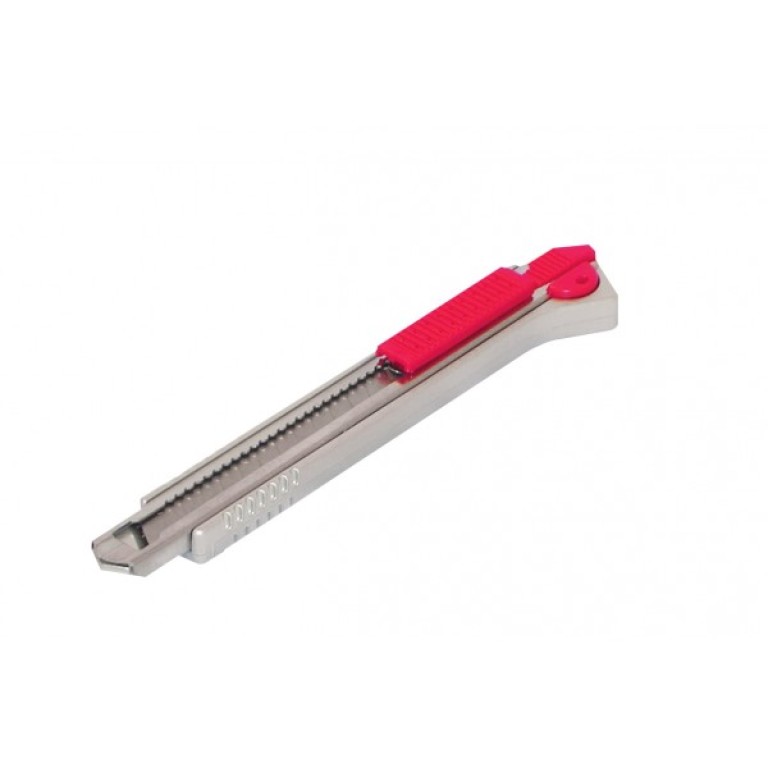
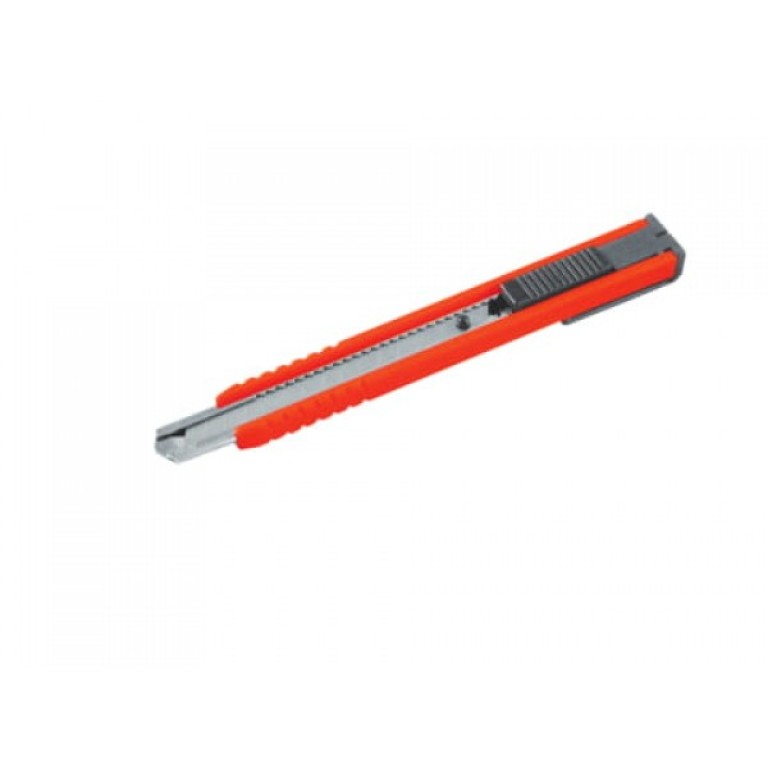
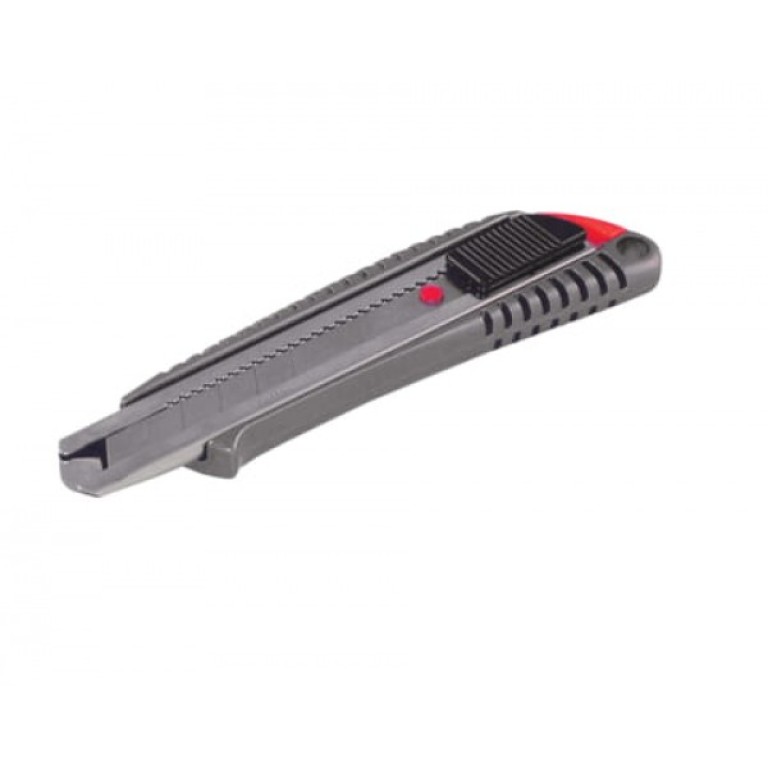
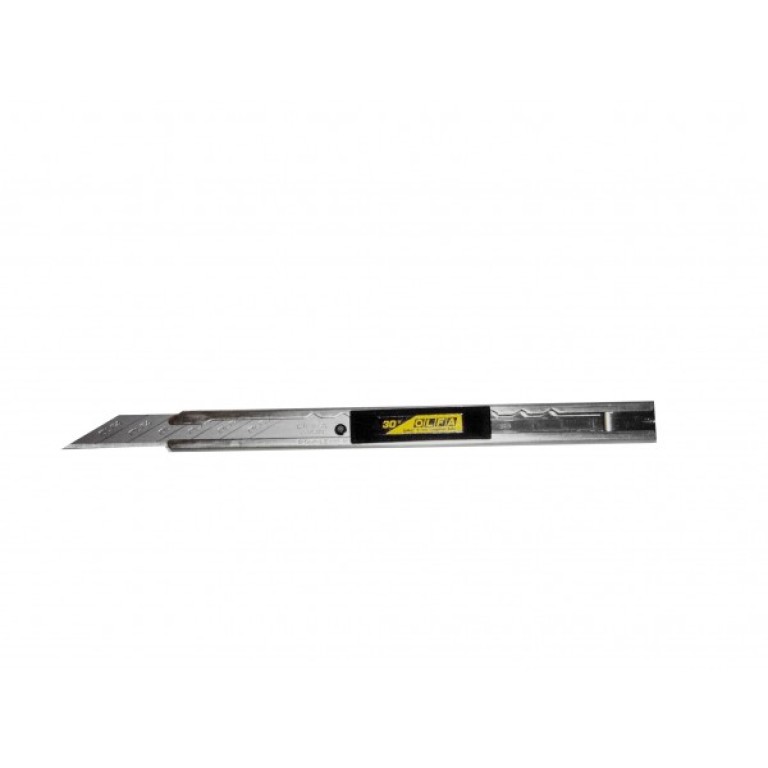
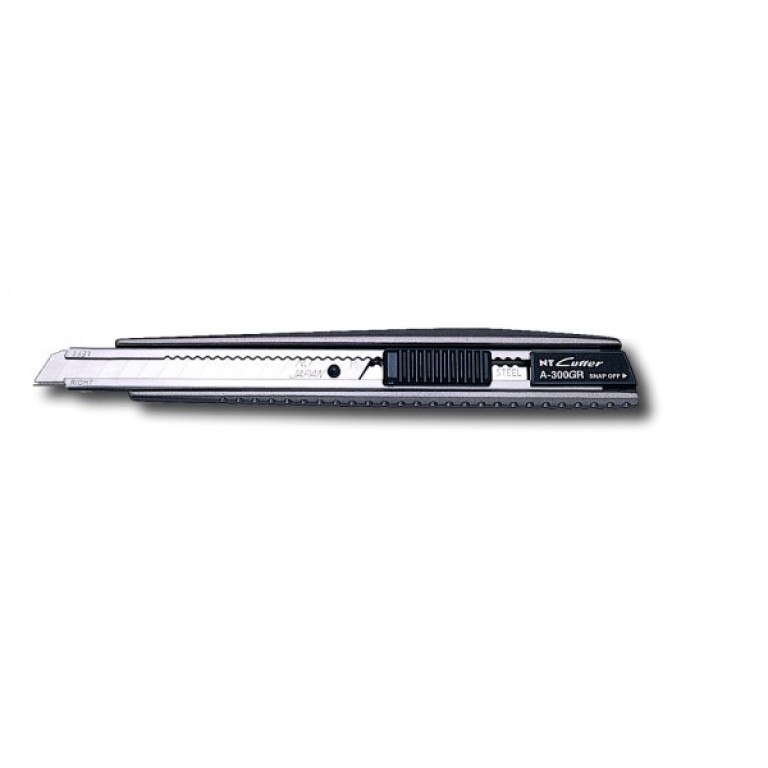
When it comes to cutting window film, professionals often use specialised blades.
These blades are designed to provide precision and clean cuts, minimising the risk of damaging the film. They are conveniently used with holders or knives specifically crafted for this purpose. Experienced technicians pay attention to the quality of the blades and regularly maintain them, ensuring professional-grade results in window film installation. These blades can be readily purchased at specialised tinting supply stores.
-
Cutting window film with scissors is generally not recommended in a professional setting. Scissors can cause uneven and jagged edges, leading to an unsightly finish.
For precise and clean cuts, it is advisable to use specialised tools such as utility knives or blades designed explicitly for window film installation. These tools provide the necessary control and accuracy to ensure a professional-looking result.
Professional installers prioritise the use of proper cutting instruments to maintain the integrity and aesthetics of the window film application.
-
How do you cut a house window film straight?
Cutting window film straight at home requires precision and the right tools. Here is a step-by-step guide to achieve a clean and accurate cut:
Materials needed
Cutting mat
Utility knife or blade
Masking tape (optional)
Procedure
Measure and Mark: Use a ruler or straight edge to measure the desired length of the window film. Mark the measurements on both ends of the film with a pencil or a washable marker.
Secure with Masking Tape (Optional): If your window film tends to move during cutting, you can secure it in place with a few strips of masking tape along the edges. This will help prevent slipping and ensure a straight cut.
Place on Cutting Mat: Lay the window film on a cutting mat to protect the surface underneath and to make it easier to cut through the material.
Align with Straight Edge: Align the ruler or straight edge along the marked cutting line. Ensure that it runs parallel to the edges of the window film for a straight cut.
Cutting Technique: Using a sharp utility knife or a dedicated window film cutting tool, make a single, continuous cut along the straight edge. Apply steady and even pressure to avoid jagged edges.
Repeat as Needed: If you are cutting multiple pieces or need to trim additional sides, repeat the process for each section. Always measure and mark before cutting to maintain accuracy.
Trim Excess: After making the primary cuts, trim any excess material carefully. Ensure that the edges are neat and aligned with the window frame.
Remove Masking Tape (if used): If you used masking tape to secure the film, gently peel it off to reveal the cut edges.
By following these steps and using the right tools, you can cut window film straight at home with a professional finish.
